
1. Add a new email account
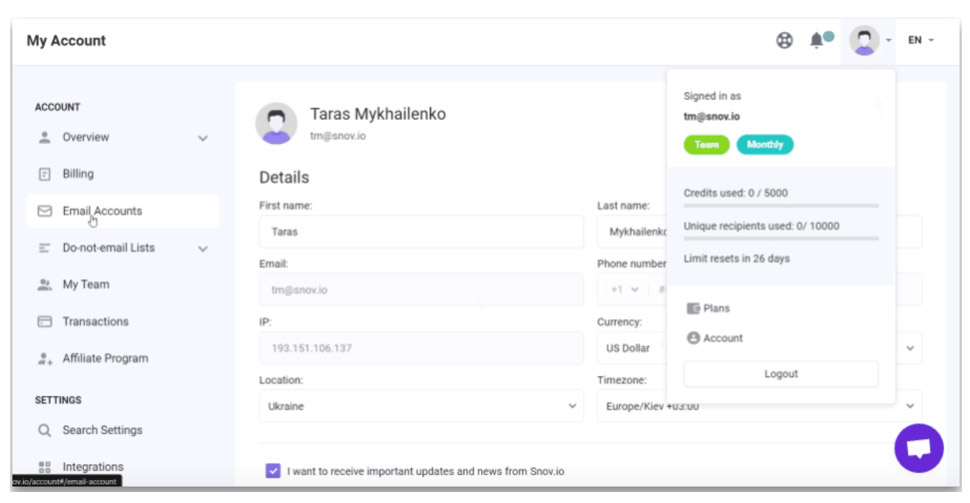
Click on the avatar icon in the top-right corner of your Snov.io screen:
- Open the My Account menu
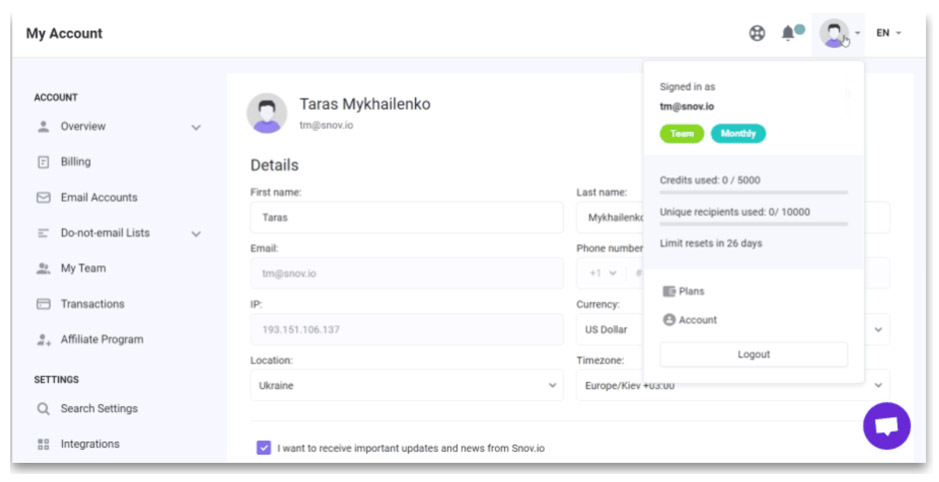
- Select the Email Accounts tab
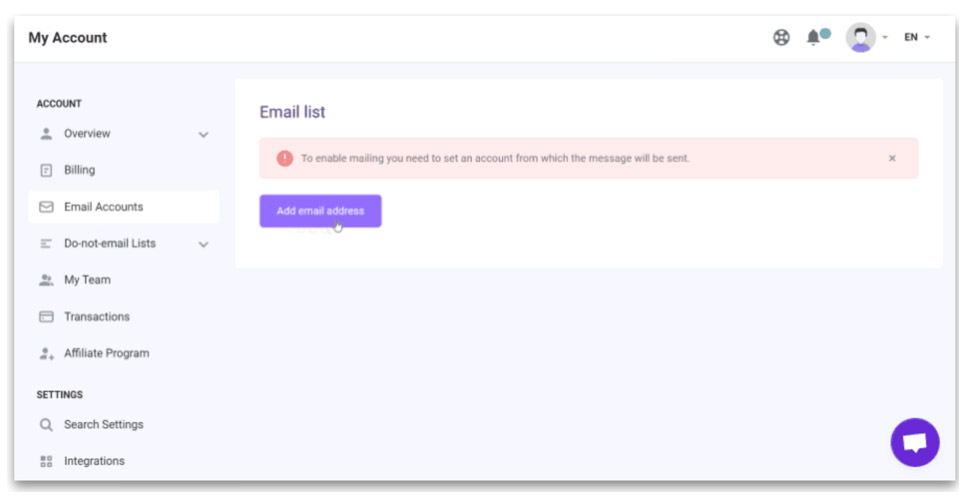
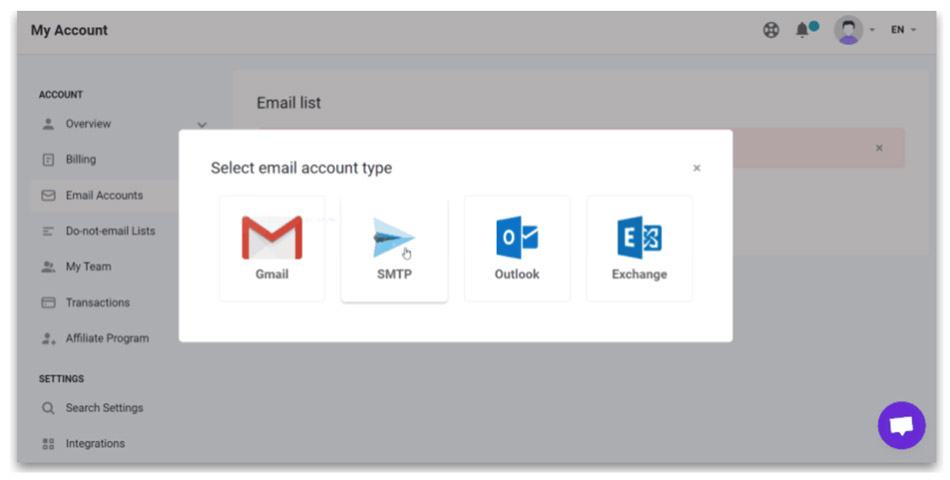
- Click the Add email address button choose the SMTP type
- Choose the SMTP type
2. Add SMTP settings
Fill out the information related to sending emails:
- From name, From email fields: your sender name and email address your recipients will see in From field
- Username, Password: your Consumer Key and Consumer Secret (see how to create your API Keys)
- SMTP host/port, SSL or TLS encryption: your email provider’s default settings
- Messages per day: how many emails your account will be sending daily (the number you will get from TurboSMTP chosen plan)
- Fixed or Random delay: Snov.io will send every single email with an interval you specify
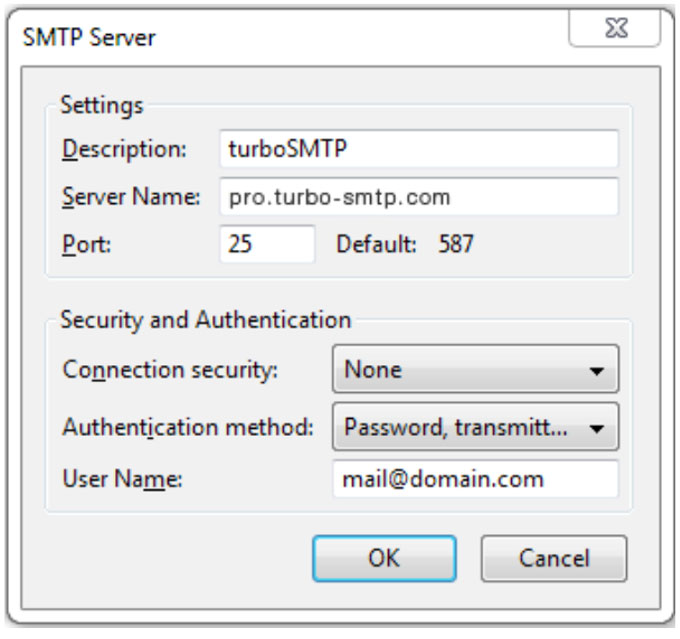
Here are the TurboSMTP settings:
| Information | Value |
|---|---|
| SMTP Name | TurboSMTP |
| HOST | pro.turbo-smtp.com |
| PORT | 587 |
| ENCRYPTION TYPE | Select TLS |
| From Email (Verified in SMTP) | Write the email which you’ve verified in your TurboSMTP account |
| USERNAME/API | Write here your Consumer Key |
| Password/Secret KEY | Write here your Consumer Secret |
3. Test connection
After you fill SMTP settings, click the Send a test email to check connection button to check if connection is successful.

If you see a SUCCESS MESSAGE status, your SMTP sender account is ready to go!
Click the SAVE SETTINGS button at the top right corner of the EMAIL SETTINGS page to save your settings.
You are all set now to use TurboSMTP sender account with snov.io Drip Campaigns !