To set up an SMTP server for Outlook and start sending your emails is necessary to follow some simple steps. Remember anyhow that only relying on a professional SMTP service you will guarantee your emails a full deliverability: in fact, normal outgoing servers like Gmail’s or Hotmail’s come with serious restrictions and cannot provide the highest delivery rate.
And here’s Outlook’s SMTP configuration:
1. Select “Account Settings…” from the “Tools” menu.
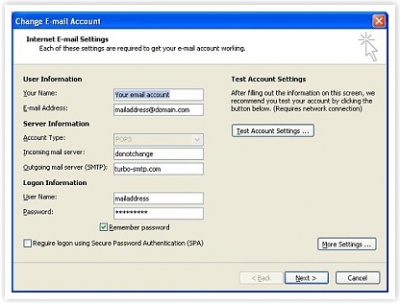
2. Select your email account and click on the “Change” button.
3. Insert your server’s name in the “Outgoing mail server (SMTP)” field. If you don’t know it you can have a look at our handy guide of the most popular providers’ SMTP details.
4. Click on the “More Settings…” button.
5. Select the “Outgoing Server” tab.
6. If you intend to send your emails with authentication, check the “My outgoing server (SMTP) requires authentication” box. Then select “Log on using”.
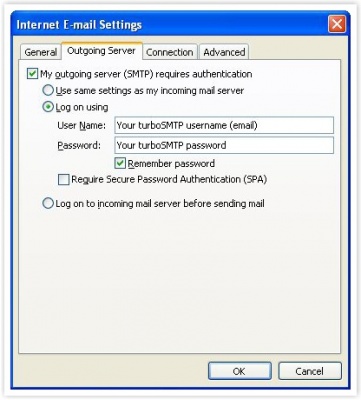
7. Enter your username (the email address from which you send out) and your password.
8. Set the SMTP port to 25 in the “Outgoing server (SMTP)” tab. Some incoming servers can reject emails coming from this port due of a large quantity of spam, so in case you can always switch to another.
9. Click “Ok”, “Next >”, and “Finish”.
Here it is, you can start sending emails!
That said, however, remember that in general Outlook is not the right tool for email marketing (having been created mostly for one-to-one messages and not for mass email sending).
Beyond the problems with SMTP servers, Outlook can therefore generate other difficulties when it comes to send a newsletter. That’s why we recommend that you rely on a dedicated sending software like SendBlaster.